Service Preparation
회원가입
QuREKA는 사용자에게 어떠한 설치도 요구하지 않습니다. 사용자는 QuREKA 포털에 접속하여 회원가입을 하는 것만으로 QuREKA의 모든 서비스를 이용할 준비를 마치게 됩니다.
API 키 발급
로그인을 한 뒤, QuREKA 포털의 `Get Started` 버튼을 클릭하여 콘솔 페이지로 접속합니다. 정상적으로 접속에 성공하면, 위 그림처럼 개인 워크스페이스의 대시보드 화면이 나타납니다.
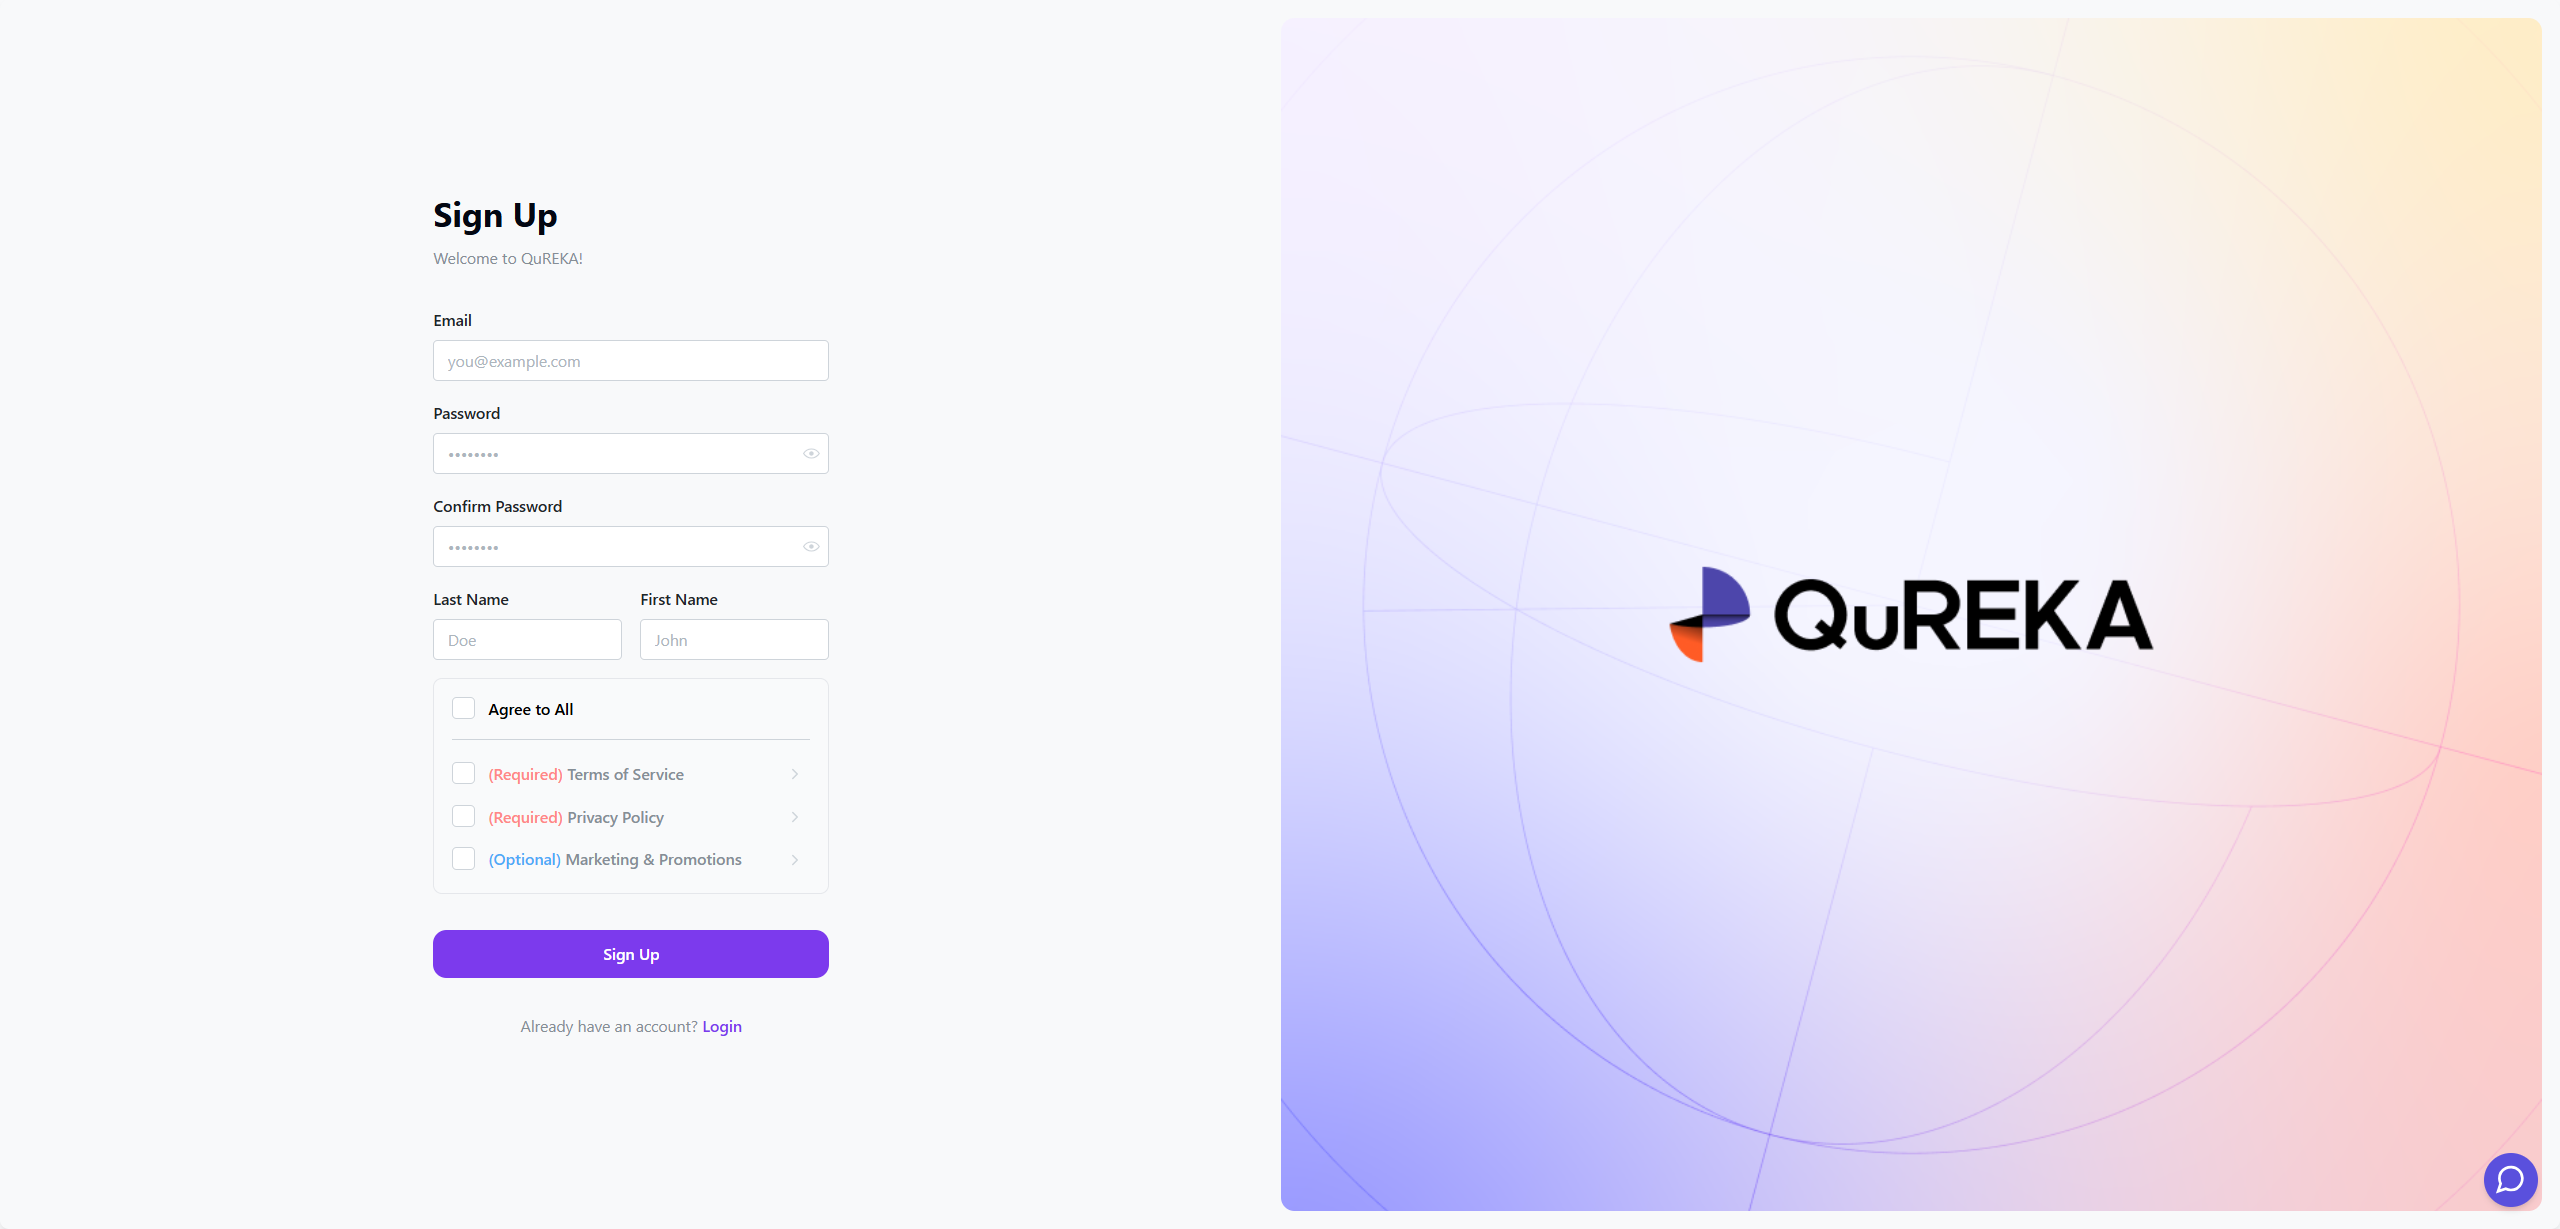
Registration
QuREKA is accessible instantly via web browser without the need for any software installation. Users can prepare to use all QuREKA services simply by accessing the QuREKA portal and completing the registration and login process.
API Key Generation
After logging in, click the Login or Get Started button on the QuREKA portal to access the console page. Upon successful access, the dashboard for your personal workspace will appear as shown in the image above.
[Dashboard Screen Image]
To use QuREKA's resources and SDKs, users must first obtain an API key. Click the [Generate API Key] button on the dashboard to issue your key.
[API Generation Image]
[CAUTION] For security reasons, never share your API key with others. If you suspect your key has been compromised, please regenerate it immediately.
Workspace Creation and Invitation
QuREKA provides a management environment based on Workspaces for efficient collaboration. In addition to personal workspaces, users can create team workspaces for collaborative development and invite colleagues.
Creating a Team Workspace
You can create a new team workspace by clicking the Workspace Switcher icon located at the top right of the screen.
Inviting Members to a Workspace
You can invite collaborators to your workspace. An invitation email will be sent to the email address entered during the invitation process.
[Member Invitation Image]
Workspace owners can add and manage development personnel later through the Workspace Management page.