Getting Started
Let’s walk through the process of requesting quantum jobs and verifying the results on QuREKA.
A Quantum Job refers to a sequence of programs or algorithms that include quantum circuits. These can range from a single circuit to complex classical-quantum hybrid computations such as VQE or QAOA. In this guide, we will create a simple quantum job containing a single quantum circuit.
1. Creating a Quantum Job
Creating a Quantum Server
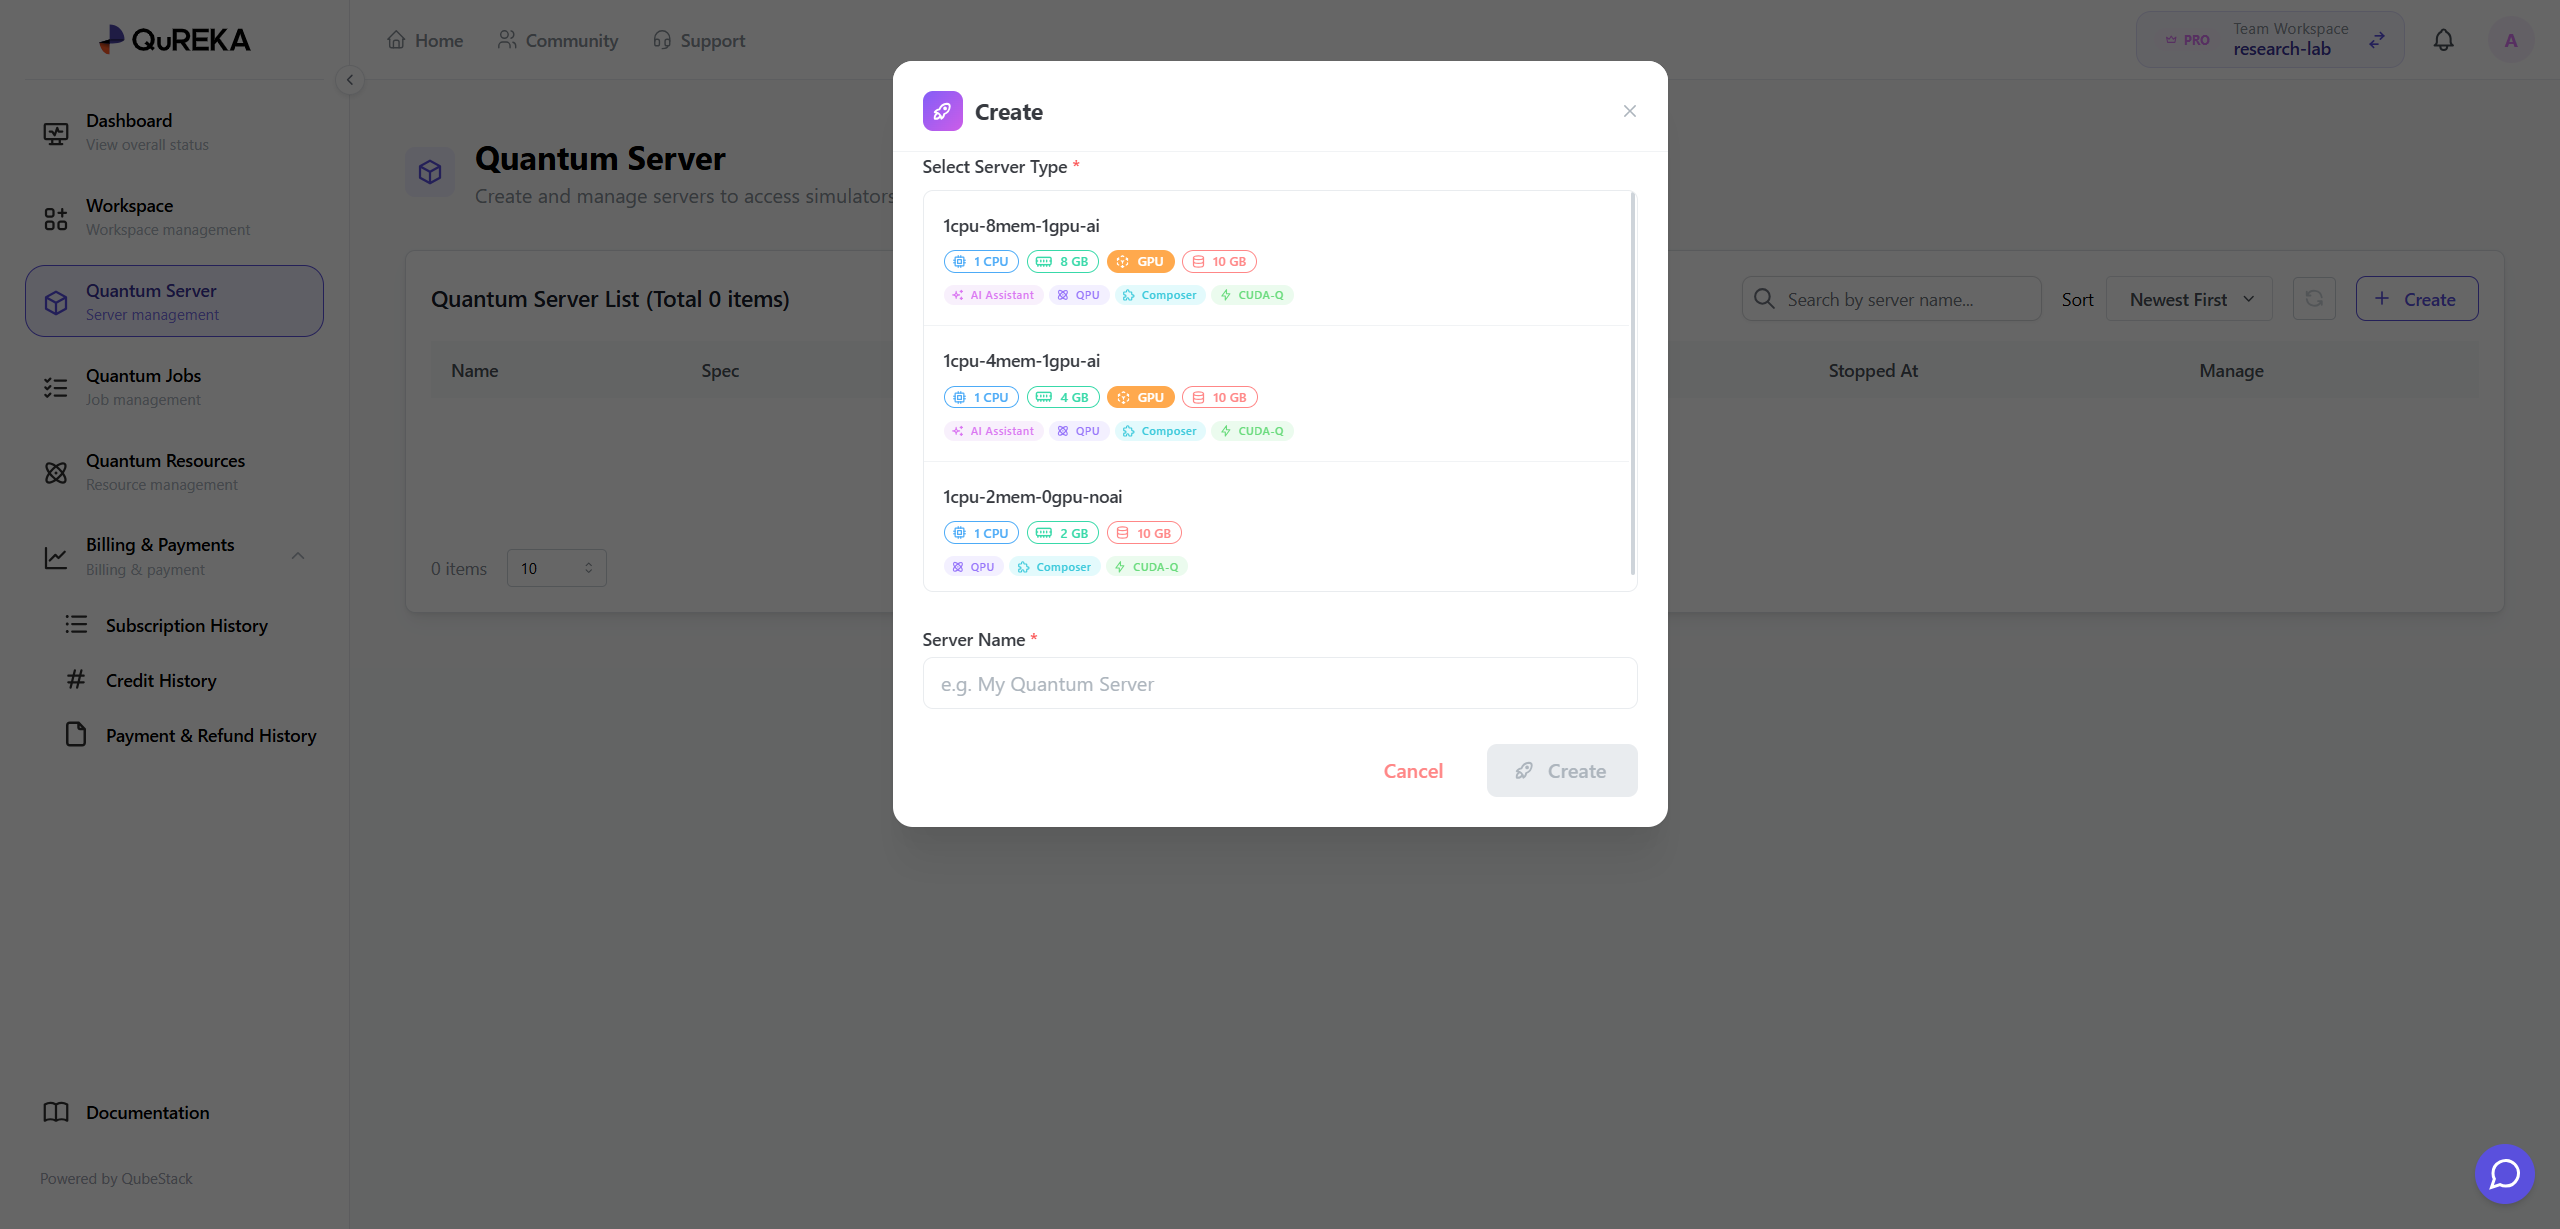
To write and execute quantum circuit code, you must first create a Quantum Server. A Quantum Server provides dedicated computational resources for developing quantum algorithms.
- Access Path: You can access this via the Dashboard or the [Quantum Server] menu in the sidebar.
- How to Create: Click the [Create] button within the menu to create a new Quantum Server.
- Server Types by Subscription: The types and specifications (vCPU, RAM, GPU, etc.) of the Quantum Servers available to you vary depending on your current Subscription Plan. If the desired server specification is not active, please update your plan on the Subscription page.
Development Environment Configuration
All Quantum Servers on QuREKA provide an optimized environment with NVIDIA CUDA-Q pre-installed. You can immediately begin developing CUDA-Q based quantum algorithms through Jupyter Notebook without any additional framework installation.
2. Writing a Quantum Circuit
QuREKA provides DGX infrastructure optimized for NVIDIA CUDA-Q, so we highly recommend developing with CUDA-Q. The following example demonstrates creating a GHZ State using three qubits.
[Code Cell]
Python
import cudaq

@cudaq.kernel
def ghz(numQubits: int):
    # Create a qubit vector
    qubits = cudaq.qvector(numQubits)

    # Apply Hadamard gate to the first qubit (creating superposition)
    h(qubits.front())

    # Create entanglement between qubits using controlled-X (CNOT) gates
    x.ctrl(qubits[0], qubits[1])
    x.ctrl(qubits[1], qubits[2])

    # Measure all qubits
    mz(qubits)

# Verify circuit validity via simulation before submitting the actual job
sample_result = cudaq.sample(ghz, 3)
print(sample_result)
[Output]
{ 000:123 001:158 010:121 011:107 100:107 101:115 110:124 111:145 }Note: The output shows measurement counts for a total of 8 states from 000 to 111. Due to the probabilistic nature (randomness) of quantum computing, results may vary with each execution.
3. Submitting a Quantum Job
Submit your written circuit to an actual quantum resource (Backend) for execution. You can select various backends provided by QuREKA using the cudaq.set_target function. For authentication, you will need the API Key issued during the service preparation stage.
The following example shows how to set the target to the MIMIQ simulator and submit a job.
[Code Cell]
Python
# Configure execution environment and authentication
device = "qube.mimiq"
api_key = "TYPE_YOUR_API_KEY" # Enter the API key issued from your Dashboard

# Set QuREKA quantum backend target
cudaq.set_target("sdt", device=device, api_key=api_key)

# Submit quantum job and receive results
result = cudaq.sample(ghz, 3)
print(result)
4. Monitoring Your Job
You can monitor the status and history of your submitted quantum jobs through the following paths:
- 'TASK' Tab (Right Side): Monitor the status of your currently submitted job in real-time within the right panel of the Quantum Server (Jupyter Notebook).
- 'Quantum Jobs' Menu (Console): View detailed results and statistics for all jobs, including past execution history, in the [Quantum Jobs] menu of the main QuREKA console.
